101 - Product Photography Tips
If you’re a small business owner, one of the most important things you need to do is create eye-catching high-quality photos. Amazing product photos can make a huge difference in how your products and business are perceived by potential customers. After all in many cases, your product photography is your first point of interaction with new clients. We know this all sounds daunting, and that’s why we’re here to help.
Firstly, we’re going to start off with some easy mistakes people make when trying to take their product photos. Then we can dive into what you can do to improve your photos.
Poor Lighting
Lighting is one of the main elements when it comes to your product photos. Poor lighting can make it hard to read your product labelling and see fine details, it can also make your product photo look too harsh/blurry and unprofessional.
This is such a common mistake and we understand, finding the perfect light can be tricky but it is 100% worth it.
Cluttered background:
While a handful of people don’t mind, the majority of your customers won’t be drawn to your products. Think about someone discovering you on the explore page on Instagram (the dream), they don’t know what your business is or your product range, so you need to make sure this is as easy as possible. There is nothing worse than a cluttered photo and not knowing if it is the flower, candle, magazine or kitchen sink for sale 😜
Incorrect Framing
If your product is in the far left of your photo and not in the centre this may seem off-putting to your customers and it can look awkward. In some cases, you could do an off-angled photo but try to keep your product centred at all times.
Over-Editing:
Over-editing is a common mistake people make when they aren’t taking an image of great quality, sometimes people enhance it through an editing app which can make the photo look fake and over-saturated.
Now that we have covered some of the common mistakes people make when taking product photos let’s dive into things you can do to improve your product photos. For some people investing in a good camera isn’t achievable, but that’s okay because product photos can easily be achieved using your smartphone.
Here are some tips to get your product photos to look professional.
Correct Lighting for your Product Photography
Natural lighting is the best FREE resource you can utilise. Set up a table close to a window or outside that you can place your product on. Don’t put your image in direct sunlight as that can be too harsh. Avoid using flash as this can change the colour of your product/labelling and also create dark shadows. When you are using your smartphone, point the camera at your product and move around to different angles and directions and you will soon SEE where the perfect light lands.
Of course, if you are from a gloomy state (cough, cough – Melbourne 😜). You can always invest in a Ring Light. However, keep in mind artificial light is tricky to work with and it will create harsher shadows, this again is a tool you need to work with to find the right angles and positioning.
Selecting the Perfect Background for your photos
When starting out, it is best to keep it simple. The background of your image should be a solid colour; you can do this by putting a table against a white wall or getting some white plywood and creating a 90-degree angle with two pieces. This gives you flooring and a backboard for a nice clean slate to take your images.
If you wanted to add a little more, you could use small slabs of broken concrete to create a two-dimensional look by placing one product on the floor and another on the concrete slab. Another thing you could do is grab a palm leaf or any big leaf you can find and hold it somewhat above the product to create a leaf shadow giving the picture something fresh and fun.
Capture the Base Image:
As a photographer myself, I find that the photo I capture originally is my base image. This is the image I can tweak and work with to get my final result.
The base image should be cropped and or rotated if the product is off-centre. Keep in mind, the above two steps. If you are able to capture the photo in natural lighting with a minimalist background, this will make the base image and editing process, that much easier.
We have recently released a Reel on Instagram that really highlights this concept. You can check it out HERE. It is amazing what a few tweaks and the right tools can create.
Once you have your base photo, you’re ready to move on to the fun and exciting process of editing.
Where the fun begins - Editing
Editing, if done well, can transform your photo; it’s important that you don’t over-edit. Lightroom for Mobile is a free Adobe app you can use to enhance your image. If the lighting of your photo was slightly off, you can click ‘Light’ and then ‘Exposure’. Using the sliding bar, you can bump up your exposure to the right making your image brighter. If your image seems too dark, you can take it down a notch by sliding to the left.
Or, if your image is lacking colour and doesn’t seem true to colour you can go to ‘Colour’ and then use the ‘Vibrance’ bar to enhance the colours in the image. If your image looks slightly blurry or just doesn’t seem as sharp as you want it, you can go to ‘Effects’ and there will be a ‘Clarity’ bar. Have a play around and find what brings out the best in your image. Be careful not to over-edit with these bars.
Another great option is considering paying a small amount on presets for your images. As an example, you can google ‘Light and Airy Lightroom presets for mobile’, look through and decide on which preset pack you think is best fitted for your business. Remember that once a preset is applied to your image it won’t always look the same due to the different lighting/colours etc. In this case, you would apply the base preset and tweak it yourself to create the look you want to achieve.
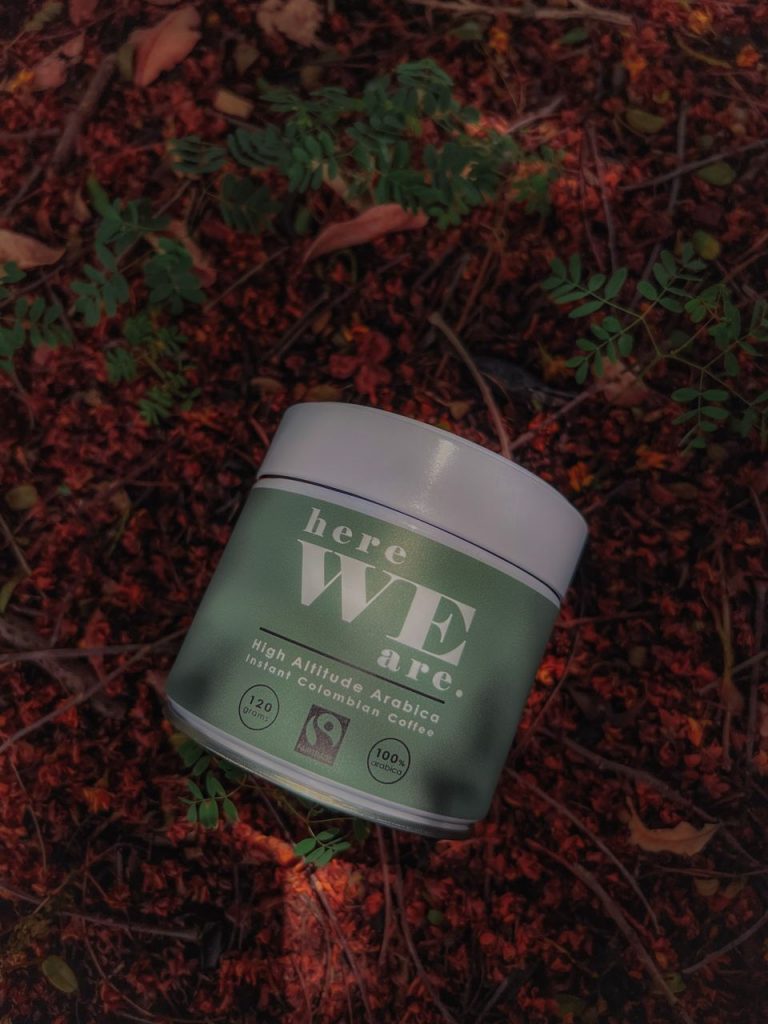
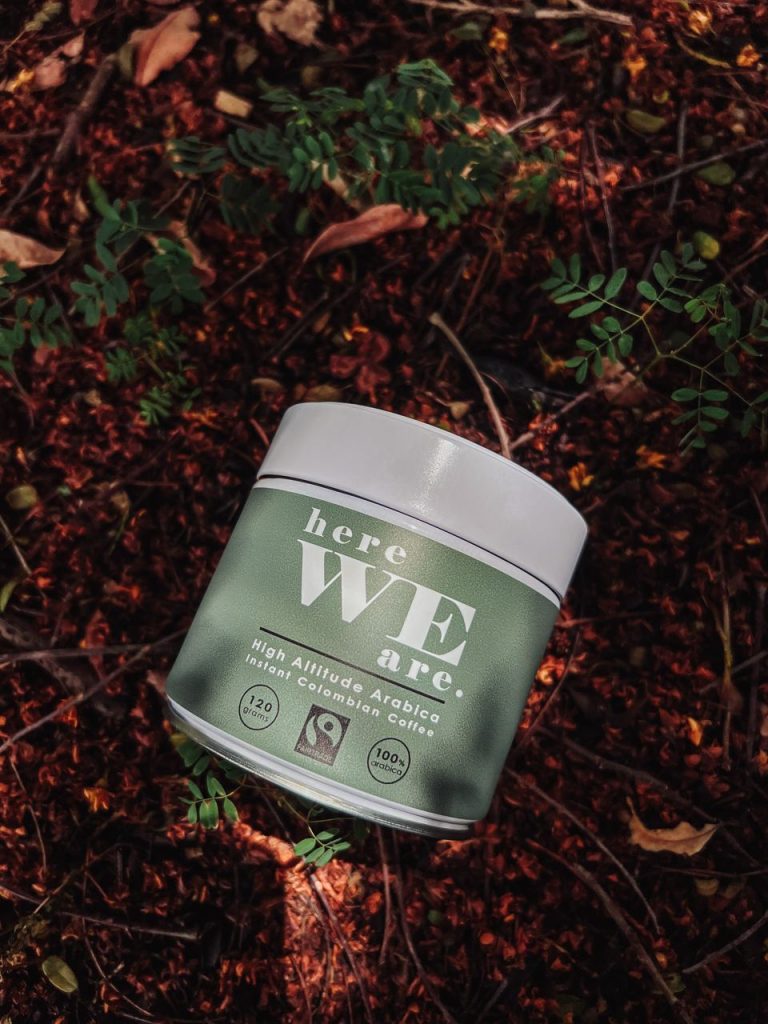
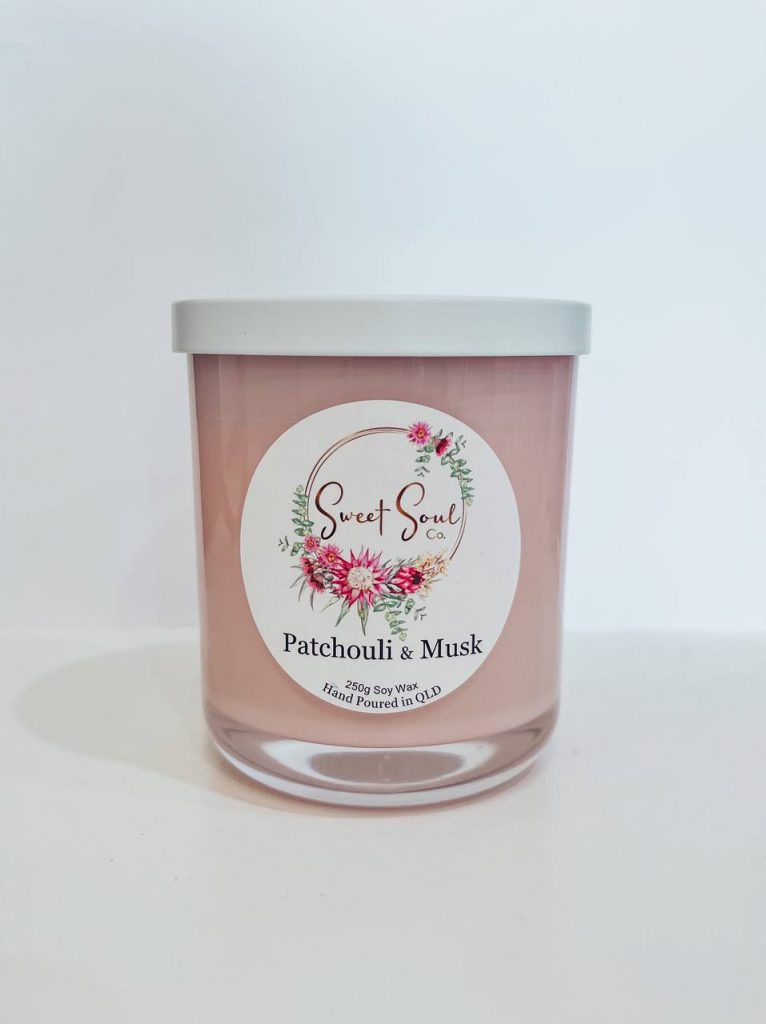
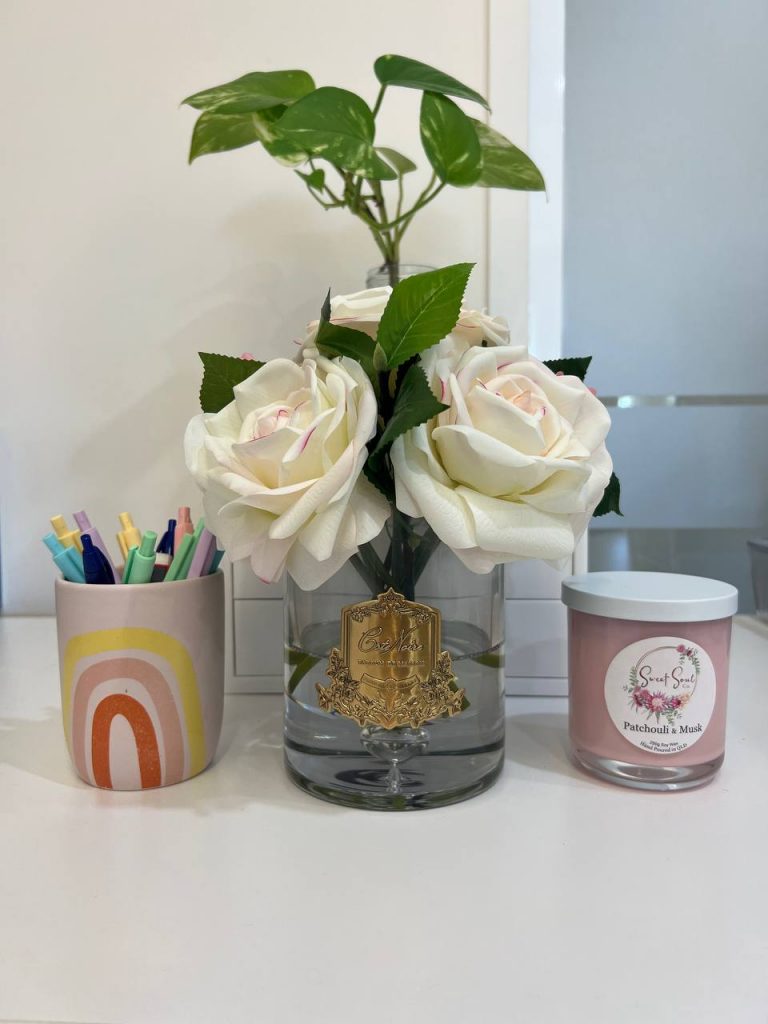
Here are some examples of our Product Photography, that was created in and around the office
Taking high-quality product photos is essential for any small business as it can be the way a customer determines who they’re going to buy from. With this guide, you should be able to correct any mistakes you could have been previously making and apply them to your new product images. Are you ready to deliver high-quality and eye-catching product photos to your customers?
Please tag us in any new product photos you take using these tips, we would love to see them and help you out if you have any further questions!
Need Public Liability or Professional Indemnity Insurance?
Here are some of our top policies
Enjoy the Post? Give us a Share.
On The Blog